
For pin enthusiasts, losing a cherished pin feels like misplacing a tiny piece of your story. Locking Pin Backs—those unassuming heroes of pin security—offer a simple yet game-changing solution. Whether you’re safeguarding limited-edition collectibles or everyday favorites, this guide will walk you through using them flawlessly.
Why Locking Pin Backs?
Before we dive into the how-to, let’s address the why:
-
Security: They grip 5x tighter than standard rubber clutches
-
Reusability: Durable enough for years of wear
-
Peace of Mind: No more checking your lapel every 10 minutes
Installing Locking Pin Backs: A 4-Step Masterclass
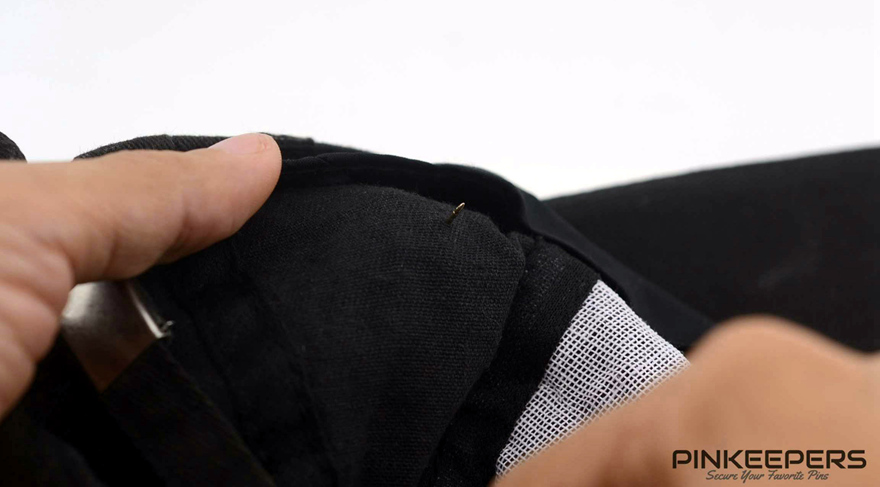
Step 1: Remove the Default Backing
Gently slide off the flimsy butterfly or rubber backing that came with your pin. Pro Tip: Keep these as emergency spares in a mint tin!
Step 2: Position Your Pin Strategically
Place the pin on your garment where you want it displayed. Avoid loose knits or stretched fabrics—opt for sturdy areas like denim jacket collars or bag straps.
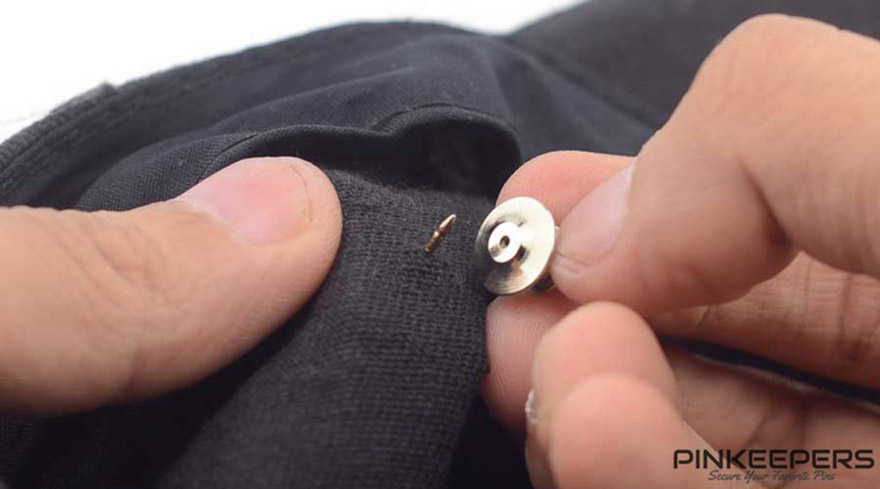
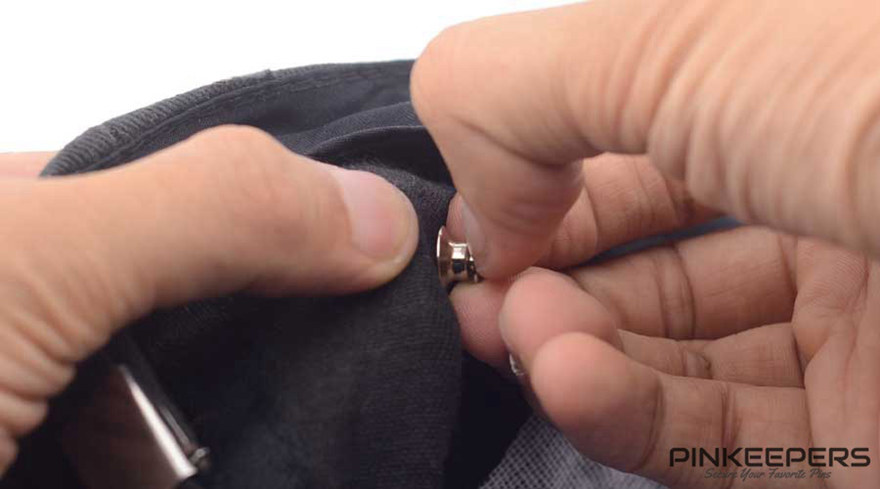
Step 3: The Magic Click
-
Align the locking pin back vertically with the pin post
-
Press down firmly until you hear a satisfying snap
-
Key Insight: That click means the internal teeth have fully engaged
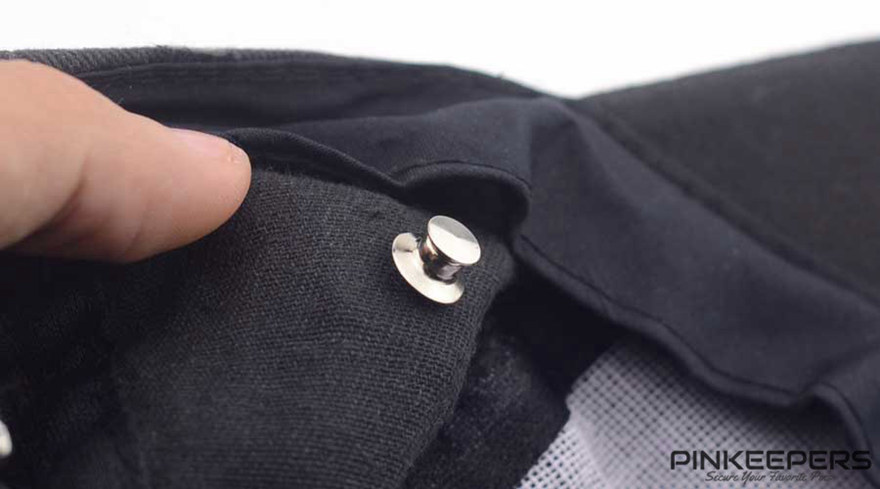
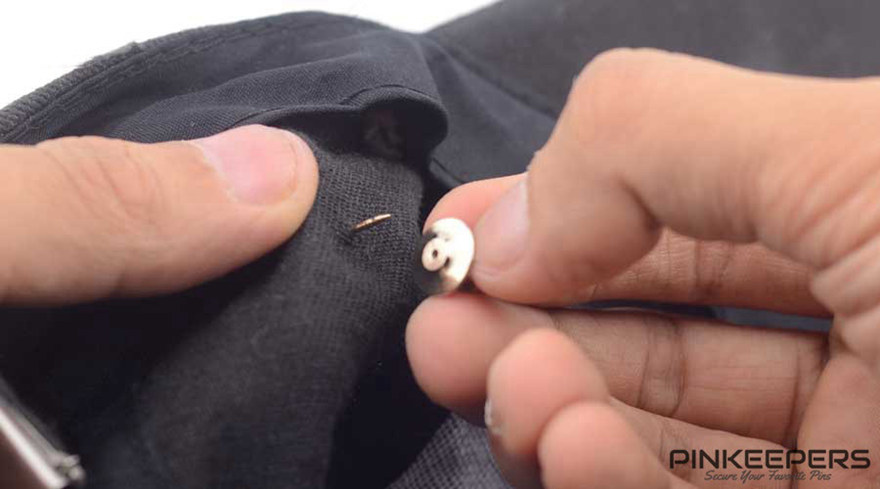
Step 4: Security Check
Give the pin a gentle tug. If it doesn’t budge, you’ve nailed it! If it shifts, redo Step 3 with more pressure.
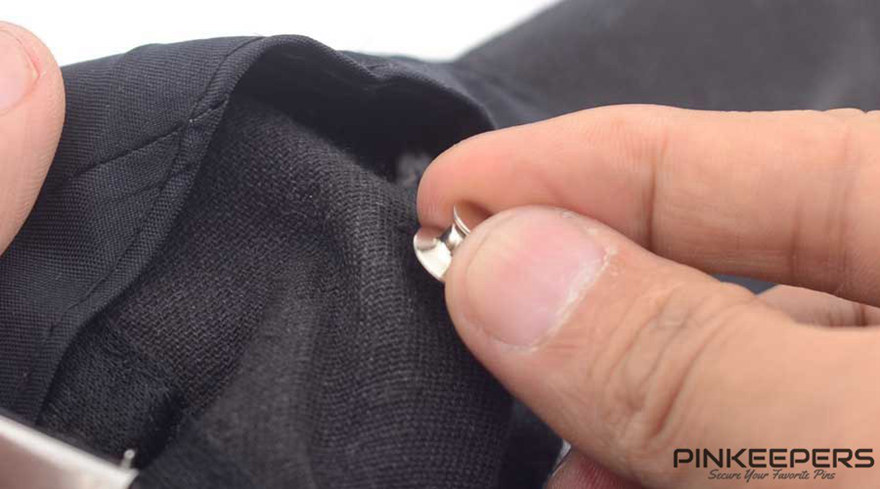
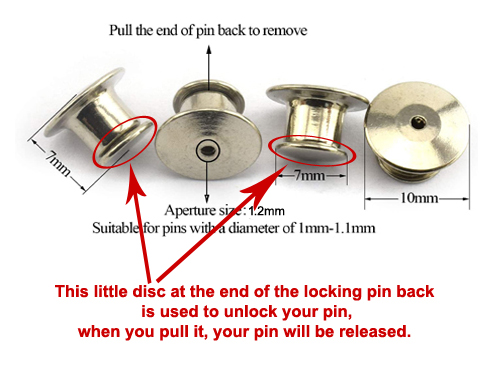
Removing Locking Pin Backs Without the Struggle
Removing locking pin backs is also straightforward, just squeeze-pull on the little disc at the back, and you can easily remove it from the pin post.
Why This Small Change Makes a Big Difference
The average collector loses 3-5 pins annually to faulty backings. At 20−50 per pin, those losses add up fast. Locking pin backs aren’t just accessories—they’re insurance for your wearable memories.
Final Thought
Your pins tell your story. Don’t let a weak backing silence them. Share this guide with fellow collectors, and wear your passions with confidence!